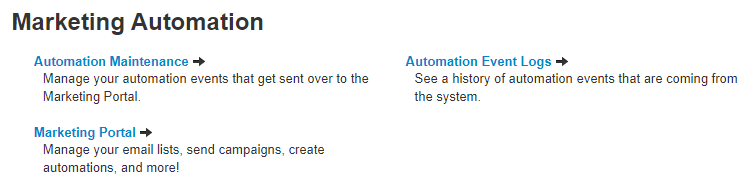
In order to utilize your Automated Marketing package to it’s fullest potential we suggest creating some custom automations that fit your business.
This can range from reminders for old customers to a discount campaigns for your new ones.
| Info |
|---|
|
...
| Info |
|---|
|
| Info |
|---|
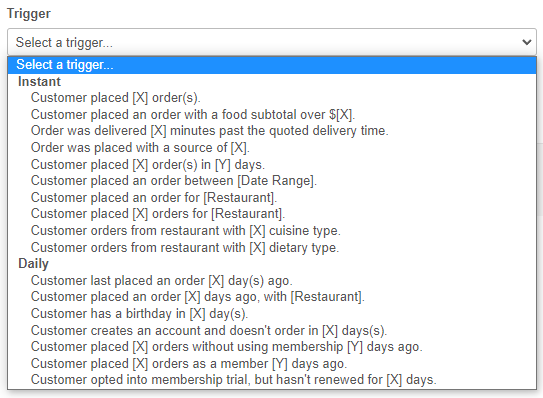
3. After that we need to be under the CUSTOM EVENTS tab to create the first *“TRIGGER” for our automation.* A trigger is an event that happens in order for an automation to begin going through it’s steps |
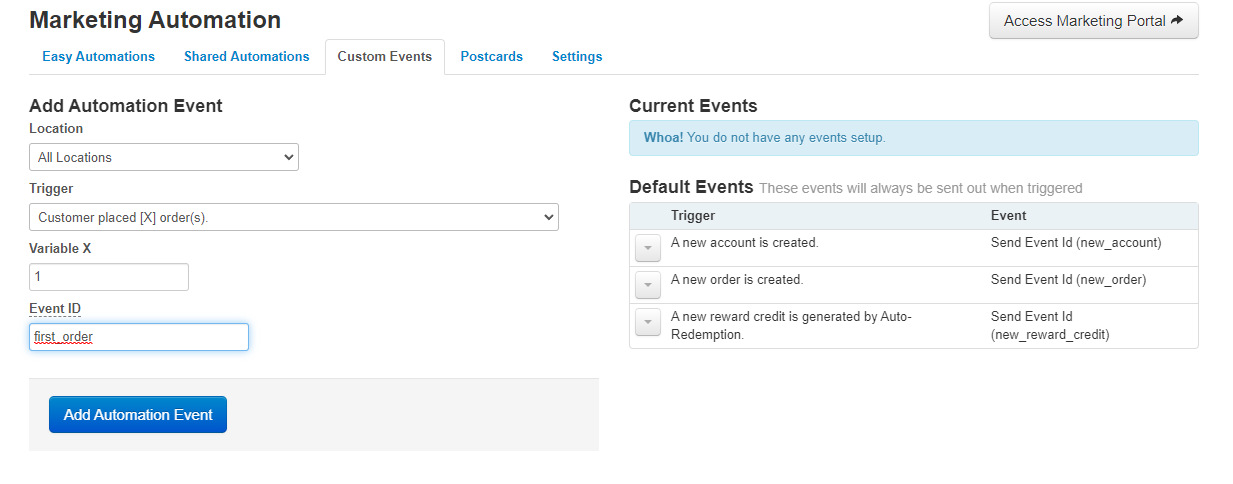
| Tip |
|---|
These triggers can be a variety of things that you can choose from the drop down menu. Instant = Automation starts as soon as “X” event happens
|
Adding an event to the ActiveCampaign tracker
Once we have added a trigger from the admin backend we need to link it and track it with ActiveCampaign, once you see the ActiveCampaign panel you will click on the bottom settings button as seen in the photo below and go to “Tracking” tab.
Once here you will copy the “Event_ID” that you created for that trigger in the field seen below named “Add Event” and click on ADD. This will allow our Admin Backend and ActiveCampaign to be linked for THIS SPECIFIC TRIGGER.
New automations will require the same steps.
...